
Guitar Building: Templates and Molds Part 2
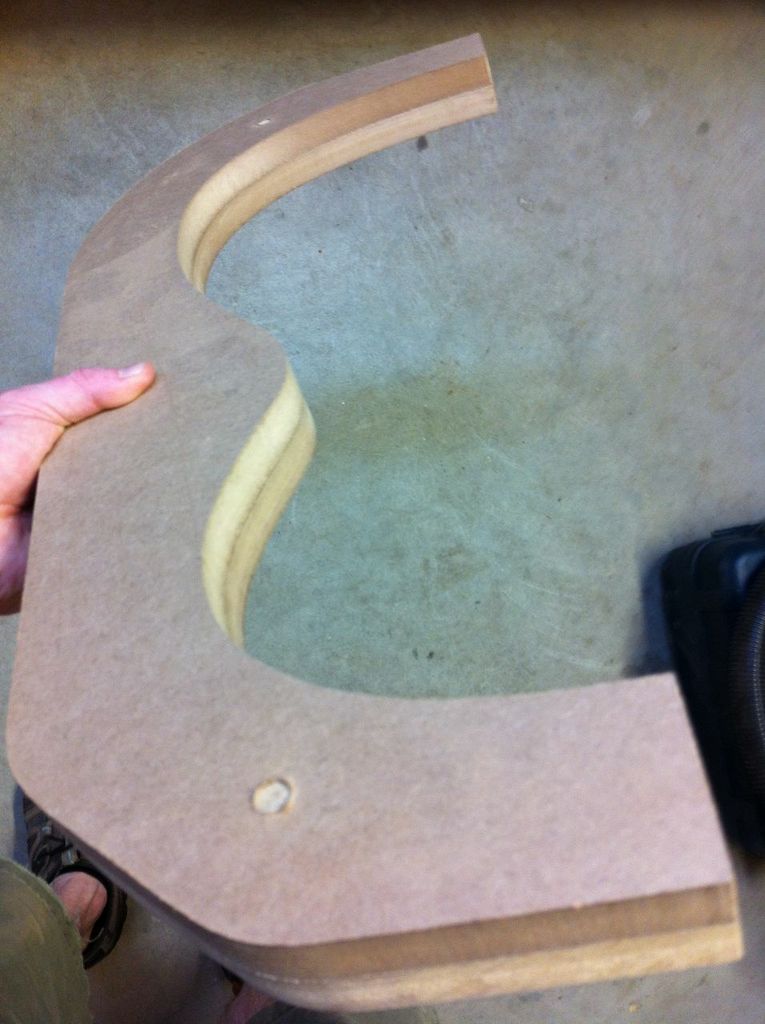
In my previous post I completed the first piece of the MDF mold. I now need to make eleven more exactly like it, which will then be stacked an glued together. Here is the picture of the master MDF piece that I will base the others on.
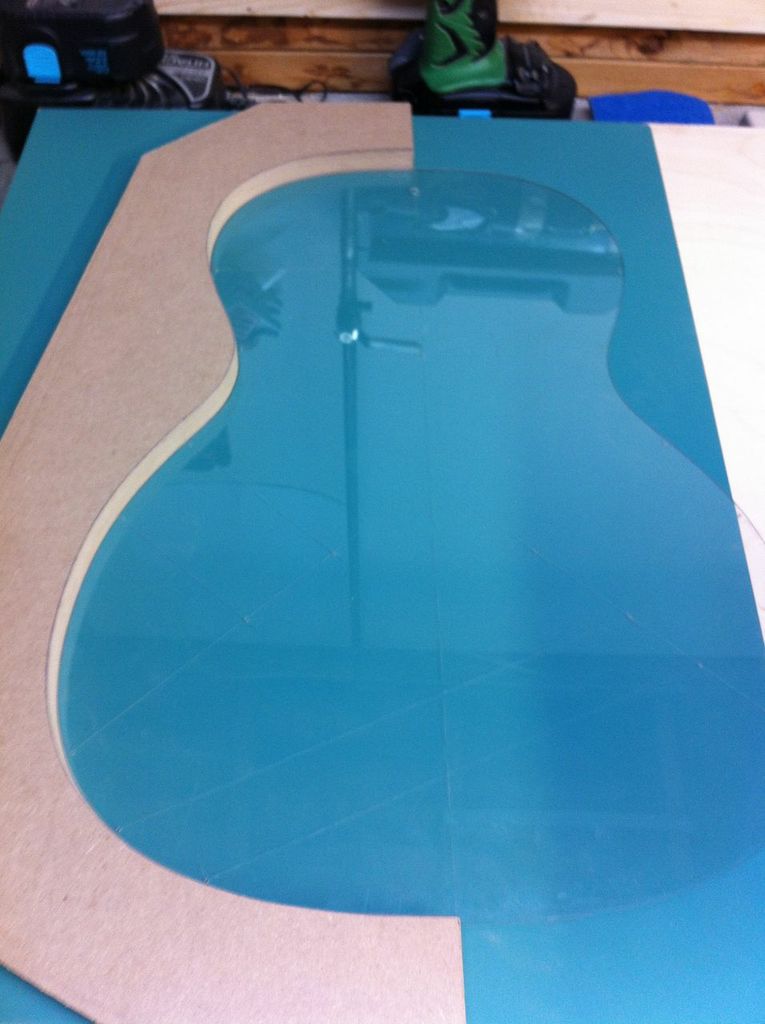
I used this piece as the master and traced all others from it.
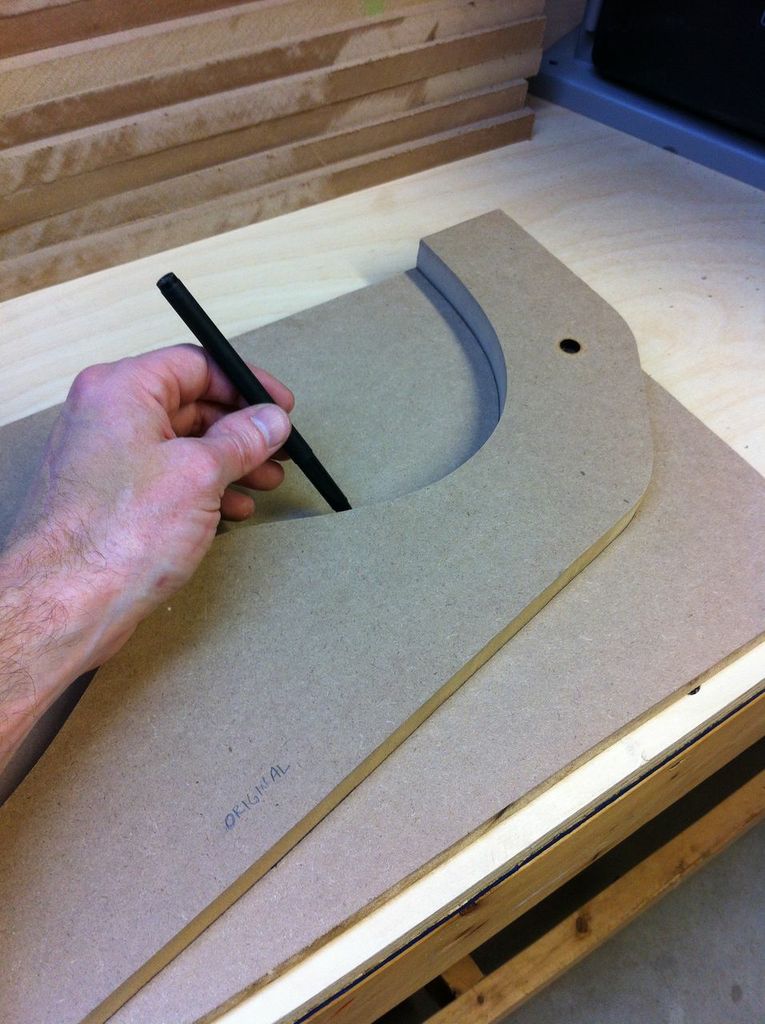
I repeated this step for the remaining ten pieces, and then cut them within an eighth of an inch of the line on my band saw. Here is the stack of rough cut pieces.

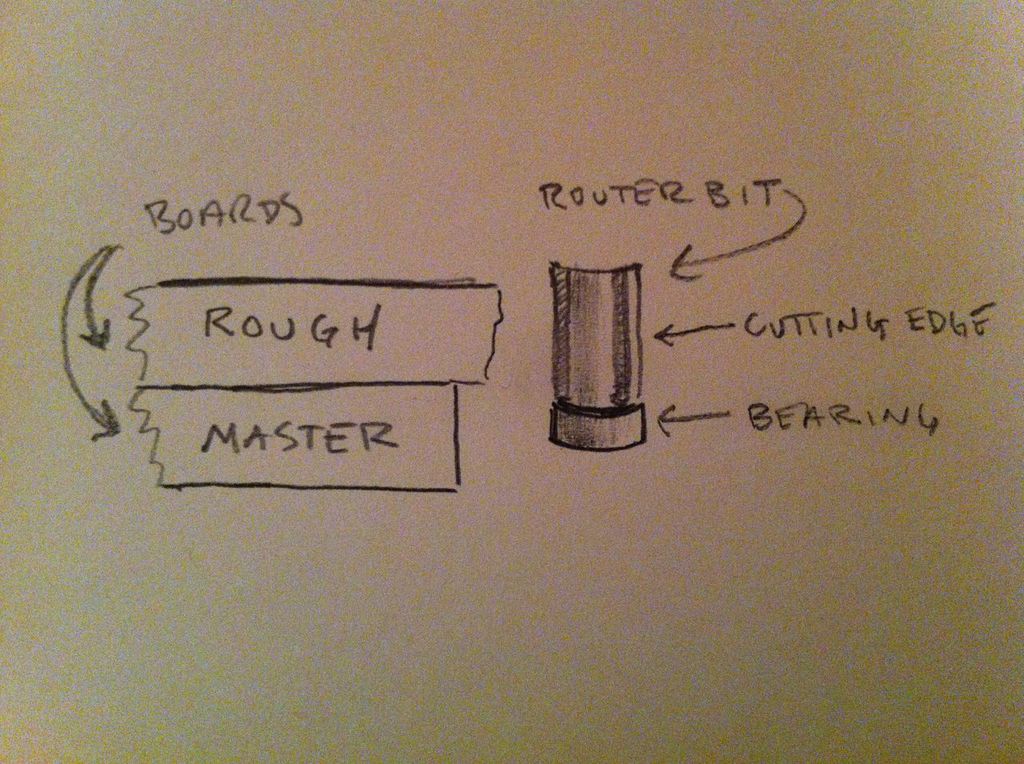
I was concerned about how I would make all these exactly the same and how they would be precisely stacked and glued. My plan was to use a flush trim router bit and to pattern match against the first MDF piece I made. Here is a picture where I’ve drawn two boards stacked on the left. The bottom board is the master, the top is rough cut and needs to be trimmed flush to the master. On the right is a picture of the router bit. It has a bearing on the bottom that rides against the master board and does not cut. Then above the bearing is the cutting part of the bit. It will trim the rough board to be exactly flush with the master.
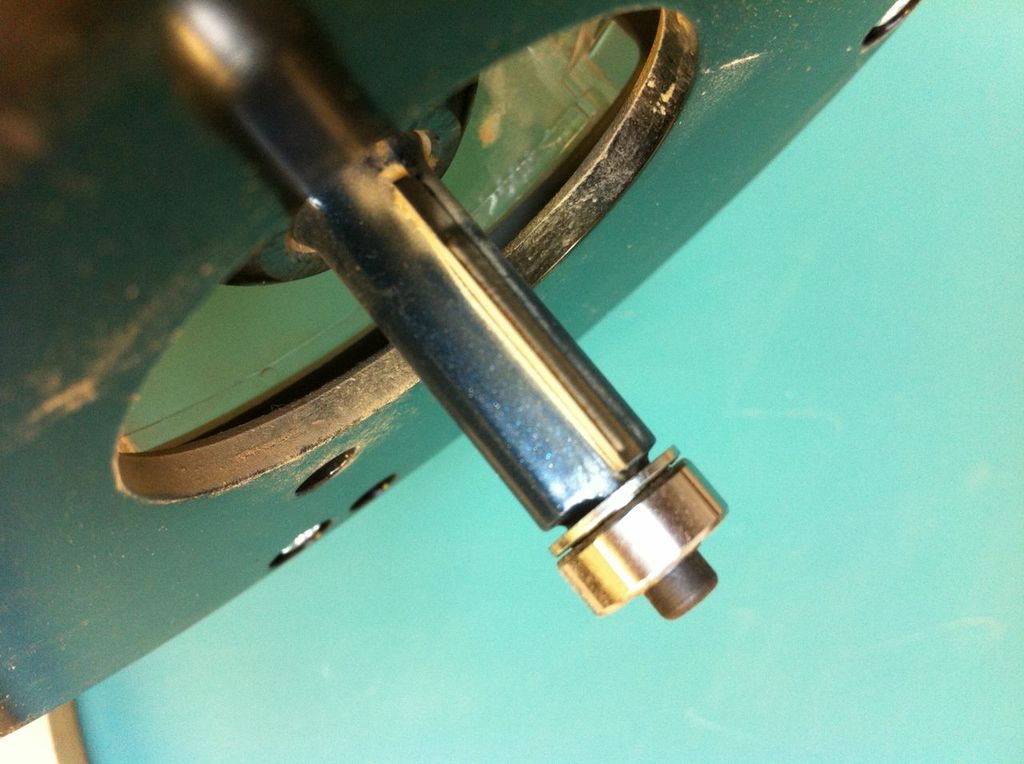
Here’s what the router bit looks like in real life…
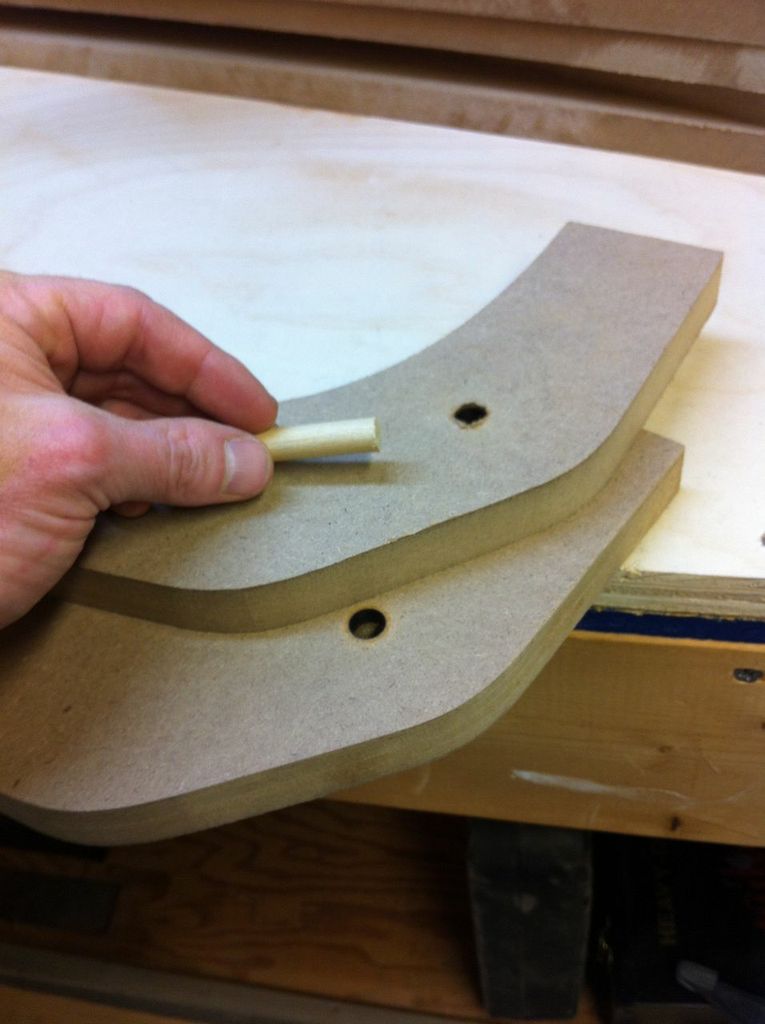
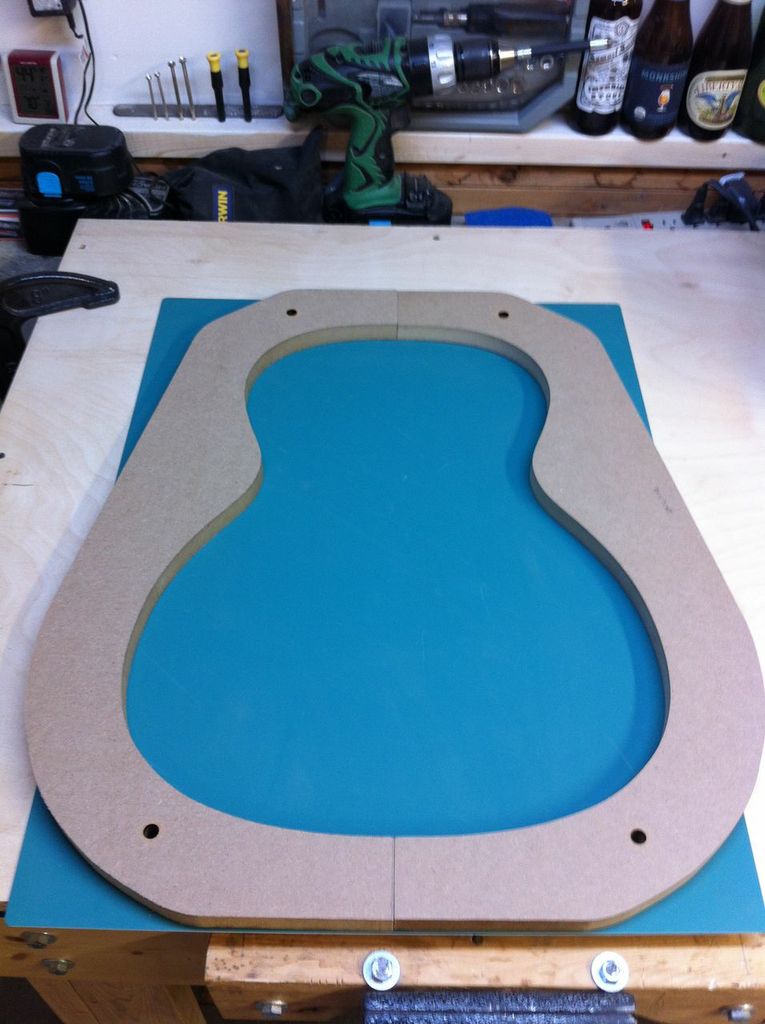
I also decided that I would drill two 3/8 inch holes in both the master and the rough board and us a 3/8 dowel as a way to help keep them well aligned.
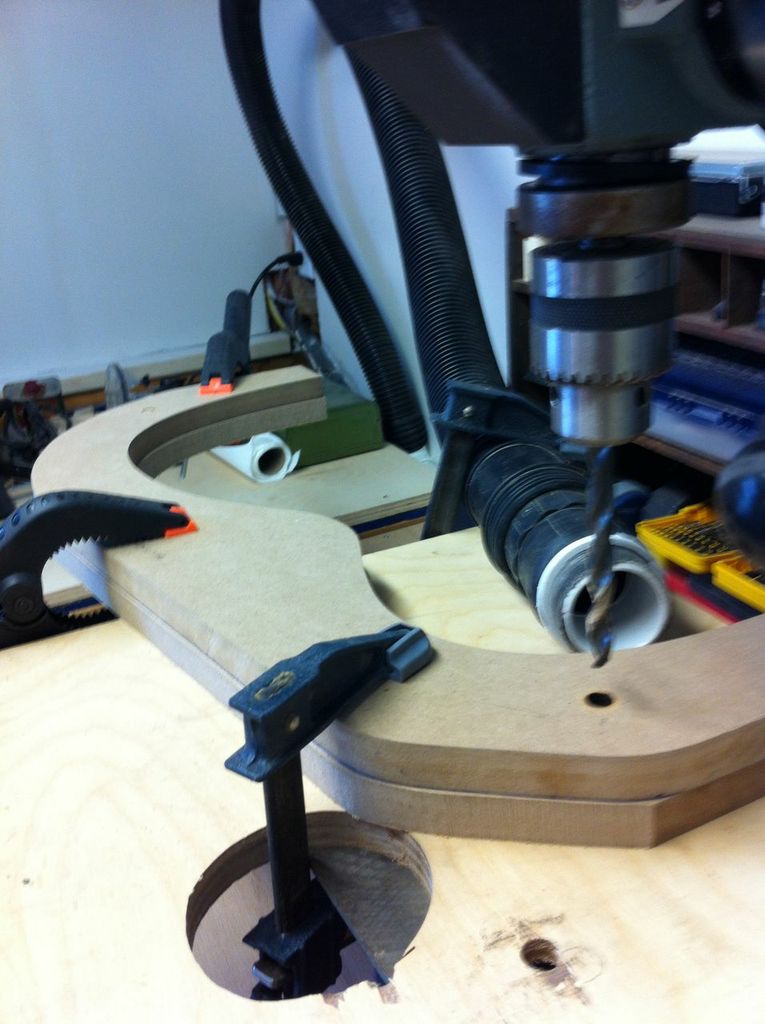
Here’s a photo after the drilling…
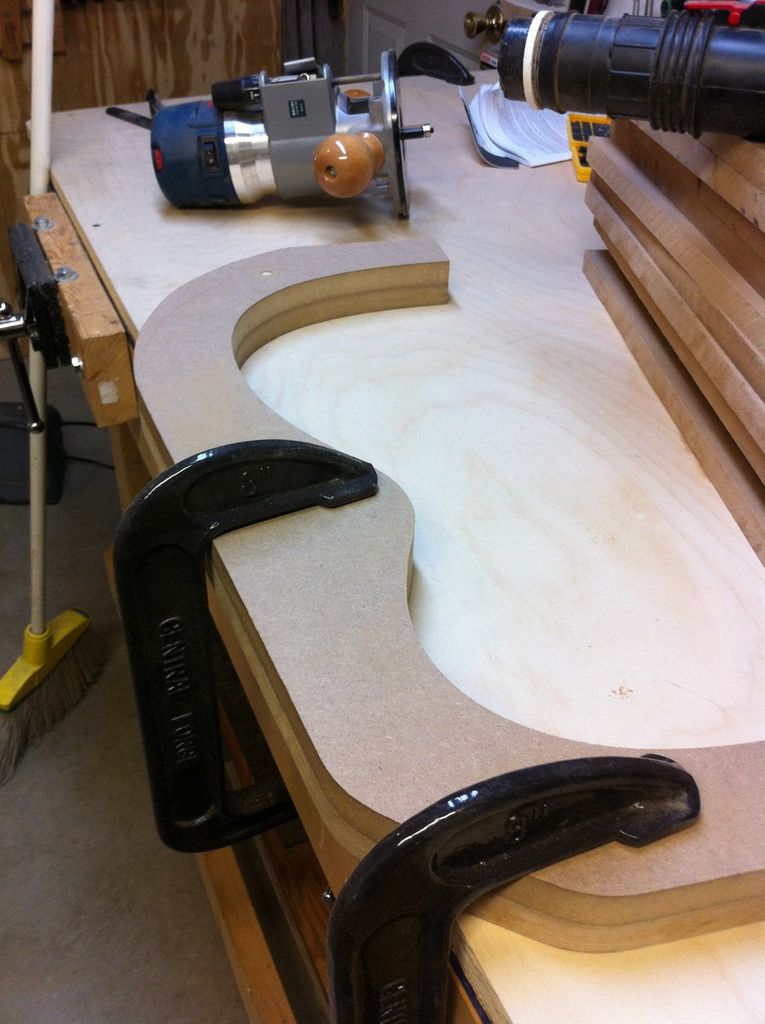
With the boards drilled and doweled, I clamped them to the bench to begin routing.
Now, I have to pause here to say that I’ve never used a router. I’ve took wood shop both in high school and in college, but never used a router. After much deliberation I decided to buy a Bosch fixed base router, with a plunge attachment. I spent an entire evening reading about router safety, with full intentions of turning it on for the first time. After reading a number of horror stories, I decided to have a beer instead. The fear stemmed partially from a minor accident I had in the shop a few weeks ago on my drill press. I learned a valuable lesson about clamping my pieces and was fortunate to have only a bruised hand and some minor cuts to show for the mishap. Turning the router on would have to wait for another evening.
A few weeks later I was ready. I spent a lot of time familiarizing myself with the machine, plugged ‘er in, and pressed the on button. Here was my first attempt at using the router (the router is off in this picture).
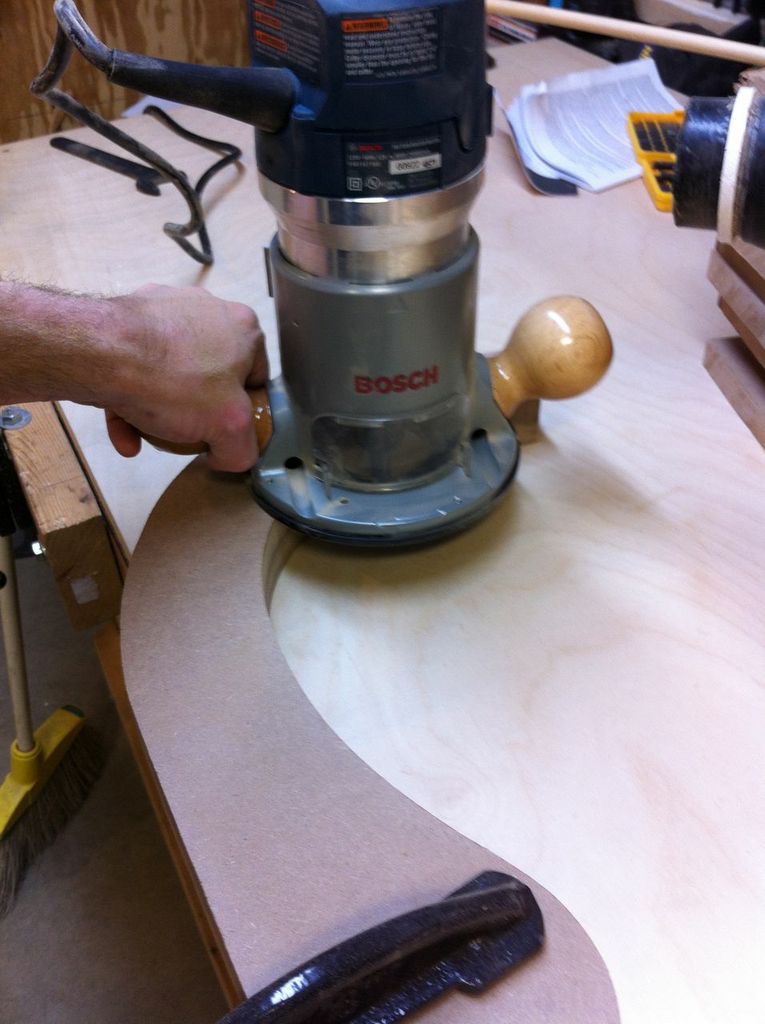
I’m happy to report that it worked as planned. I will say that the dust from the router was crazy and I decided that the rest of the routering would have to happen outside.
Here are the two boards side by side. They look great!
I’ve repeated this process for each board and have used the holes to stack the boards perfectly upon each other. Just a few more to complete.
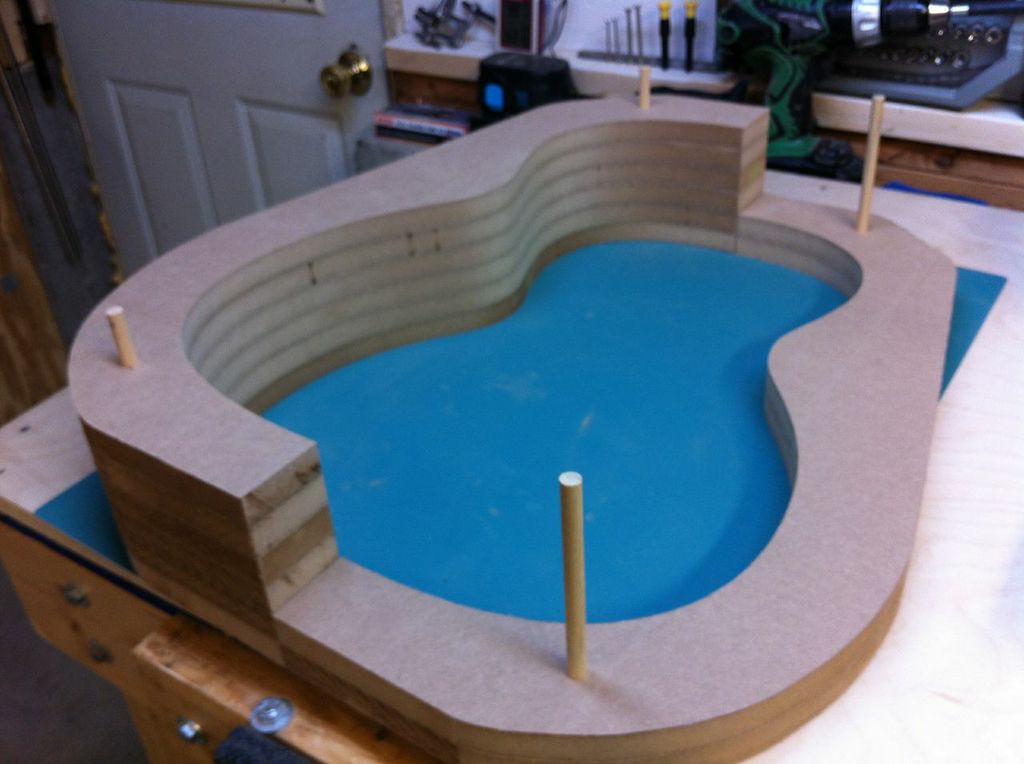
Here are all the boards routed and stacked.
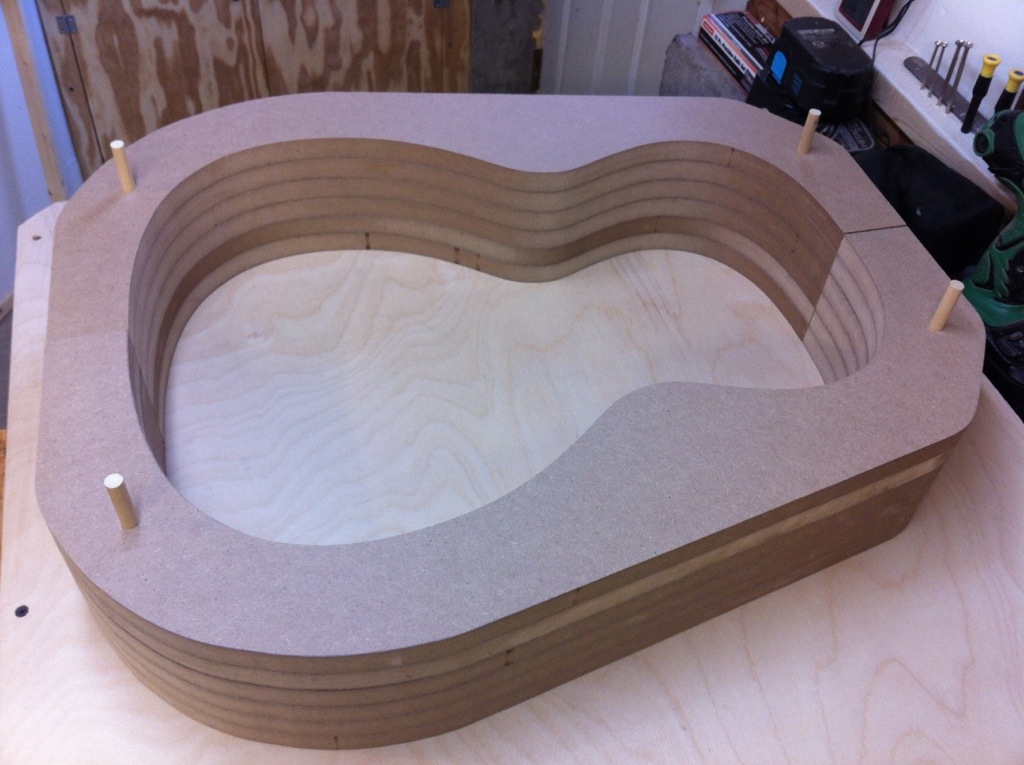
Next steps involve gluing the pieces together and creating end blocks to hold the two halves together. But that is for another day.

